
A Simple Guide to Whetstones

By Trey | Cutler Connect — Professional Knife Sharpening, Seguin, TX
If you have ever wondered what goes into professional knife sharpening, the tools used, the progression of steps, and the reasoning behind each stage, this post is for you. I will guide you through the stones that form the backbone of my sharpening process, the additional stones I select for specific situations, and provide a full breakdown of what each grit range accomplishes.
Why I Recommend Whetstones
While powered sharpeners are convenient, they cannot teach you the nuances of sharpening. Sharpening by hand builds real skill. With no electricity or machines doing the work for you, you learn the fundamentals, such as angle control, pressure, and scratch patterns, while developing a true understanding of your own knives.
Whetstones also offer an important safety feature that is often overlooked: they will not overheat your blade. Unlike powered sharpeners, which generate friction and heat that can permanently damage the temper of the steel at the cutting edge, whetstones eliminate this risk entirely.
If you are starting your sharpening journey, this guide will cover the stones you actually need, what each grit range does, and the finishing stones that will elevate your edge, along with the accessories that truly make a difference.
Understanding Grit
Before we dive into specific stones, here is what you need to know about grit:
- Coarse (220–600): This range is for fixing issues. If you have chips, poor geometry, or a bevel that needs resetting, this is where that work is done. The goal is not to achieve sharpness; it is to establish a solid foundation by reshaping the blade.
- Medium (800–2000): This is where sharpness is actually created and is often the most misunderstood range. Think of a knife edge like a saw with microscopic teeth. These tiny serrations allow a blade to bite into food and cut cleanly. The medium range is where those teeth form and where you raise your burr. A knife finished well at 1000 grit and properly stropped can be an excellent cutting tool, so do not skip this range in pursuit of a higher number.
- Fine (3000–6000): At this stage, the focus is on polishing and refining the bevel. You are not rebuilding the edge; you are smoothing what is already there. This is particularly useful for higher-end knives, especially Japanese steels, where a more refined finish can significantly improve performance.
- Super Fine (8000–10,000): This range is for exceptional blades in the hands of skilled users. Here is an important point that many people overlook: a knife that is polished too much can underperform. If you polish away those microscopic teeth we discussed earlier, your edge can become slippery. It may test sharp, but it will slide right over a tomato skin instead of cutting into it. Unless you are working with high-end Japanese steel and have a valid reason to be in this range, it is best to avoid chasing after 10,000 grit unnecessarily.
To Soak or not to Soak
Not all whetstones function the same, and understanding the differences before making a purchase can save you a lot of frustration. There are three main types you will encounter:
1. Soaking Stones: These stones are designed to be porous and must be soaked in water prior to use. The absorbed water serves as lubrication during sharpening. The abrasive particles in soaking stones are intentionally friable, meaning they break down gradually as you sharpen, continuously releasing fresh cutting particles. This breakdown creates a rich slurry that excels at polishing the bevel and blending scratch patterns. Although soaking stones cut more slowly, they produce a beautifully refined finish.
2. Splash & Go (S&G) Stones: As the name suggests, these stones do not require soaking. Simply splash some water on the surface, and you are ready to sharpen. All the stones in my core kit are splash and go. Because they do not wear down as quickly as soaking stones, they last longer and require less frequent flattening. While they do produce some slurry, it is less than that of soaking stones, so scratch patterns tend to be more visible at lower grits. In my process, I primarily use S&G stones for the majority of sharpening work after thinning, and then switch to a soaking stone to blend the scratch patterns and achieve a uniform finish.
3. Diamond Plates: These plates are in a category of their own. They are always flat and cut faster than any waterstone, handling even the hardest steels with ease. Some diamond plates are used with water, while others require oil. For example, my Sharpal 162N works effectively with a little Windex as a lubricant, keeping the surface clean and the plate cutting efficiently. However, there are some downsides to consider. Diamond plates generally have a higher upfront cost than most whetstones and go through a break-in period during which they cut aggressively. It is beneficial to work through this on a beater knife before using them on something you care about. Over time, their peak cutting performance does wear down, and at lower grits, they can leave deep scratch patterns that require careful attention in subsequent stages. Loading can also be an issue, as metal particles can accumulate on the abrasive surface over time, necessitating regular cleaning to maintain performance. Personally, I love using diamond plates for my initial sharpening process, then finishing on whetstones.
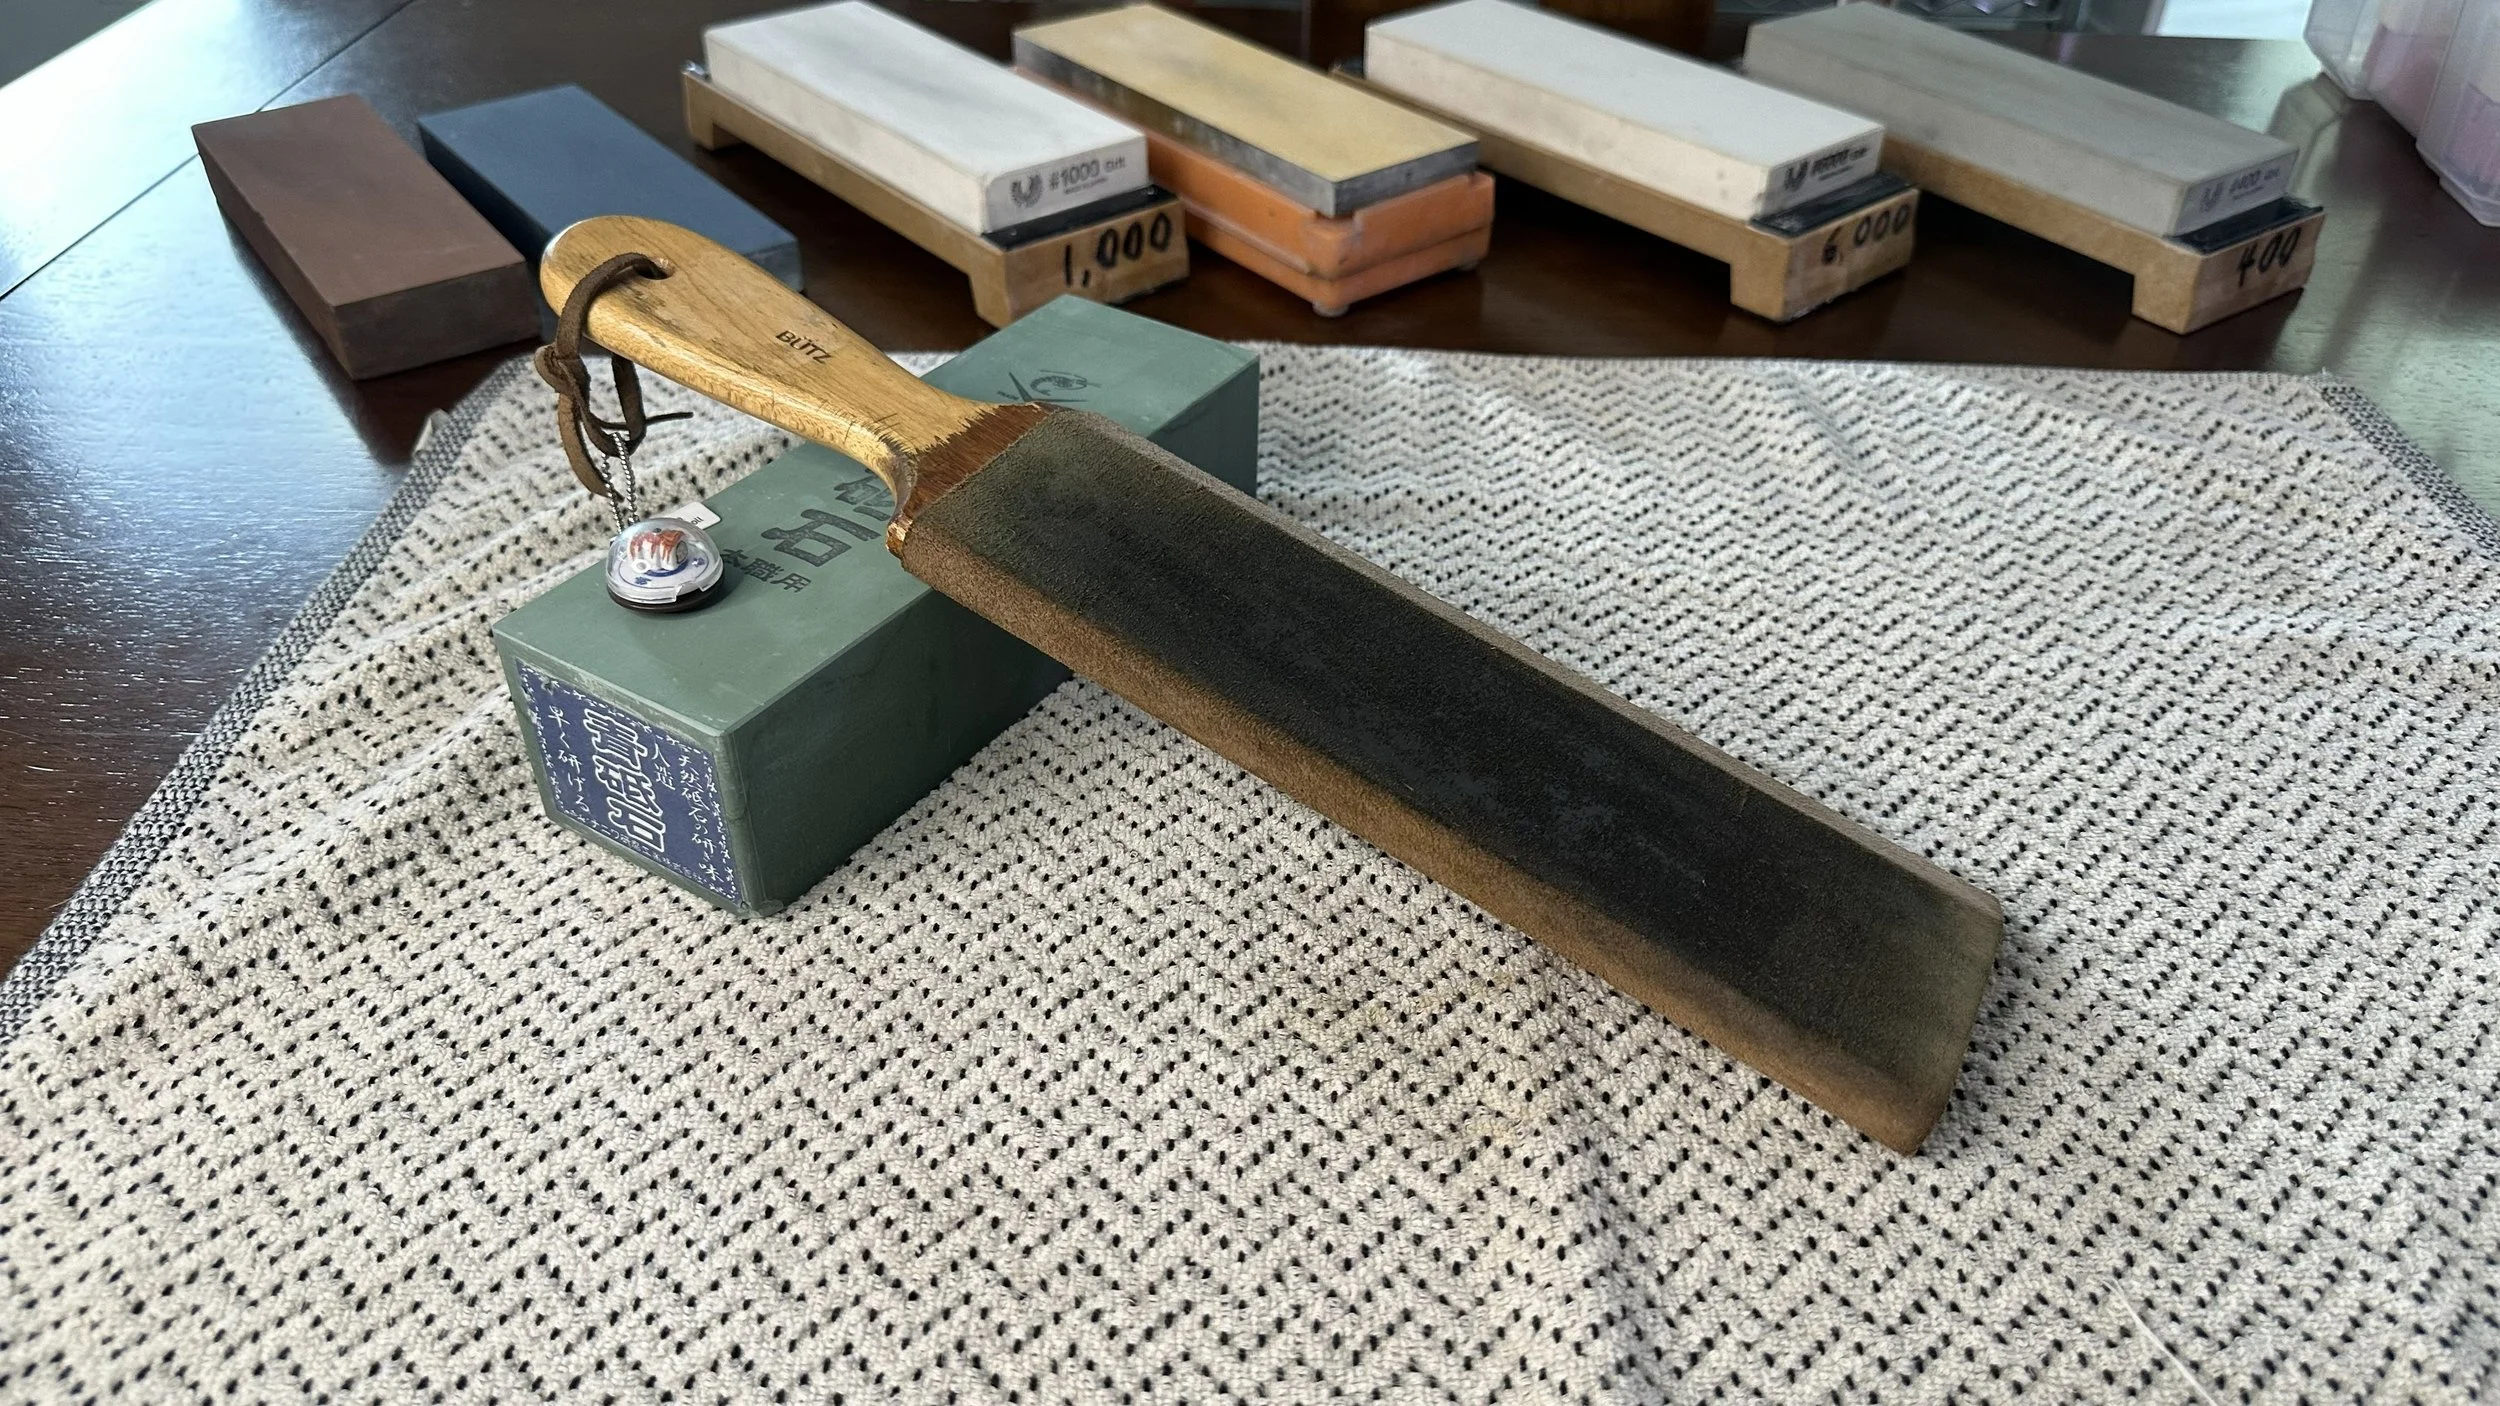
My Core Kit
These are the four stones and a lapping plate that I use for the majority of knives that come through my shop, and I highly recommend them.
Sharpal 145H - 220 Grit Diamond Lapping plate
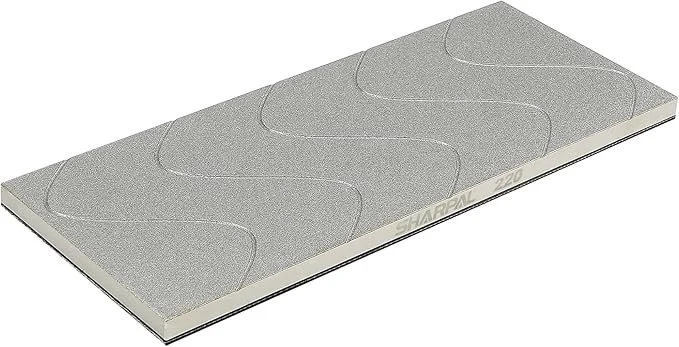
My coarsest abrasive plate. I mainly use it for flattening my whetstone, but it doubles as a super low grit for major chip removal. I personally love this plate for its size. With the 10in X 4in dimensions, it overlaps all my whetstones and can get my stones perfectly flat. It will last a really long time and coming in at $100 for a lapping plate, it is a great investment if you want to go the extra mile. Alternatively, you can get cheaper flattening stones that work, but I haven’t found one that works as fast as this one. also unlike the 162H this the lapping plate is made of stainless steel, so you can use water and not worry about rust.
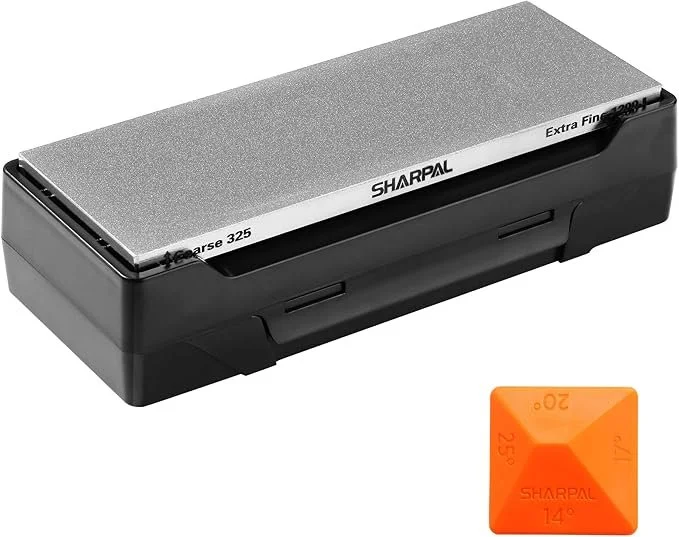
Sharpal 162N — 325 / 1200 Grit Diamond Plate
My go-to choice for knives that require serious sharpening is a diamond plate. These plates cut quickly, maintain a flat surface, and don’t require lubrication. The 325-grit side is perfect for chip repair and full bevel resets, while the 1200-grit side makes it an excellent option for beginners. If you are looking for a good dual stone on a budget, I recommend this diamond plate. The angle guide provided is also very handy for beginners.
If you choose to lubricate the plate, avoid using water, as it will cause rust. Instead, I recommend using honing oil or Windex, both of which work well.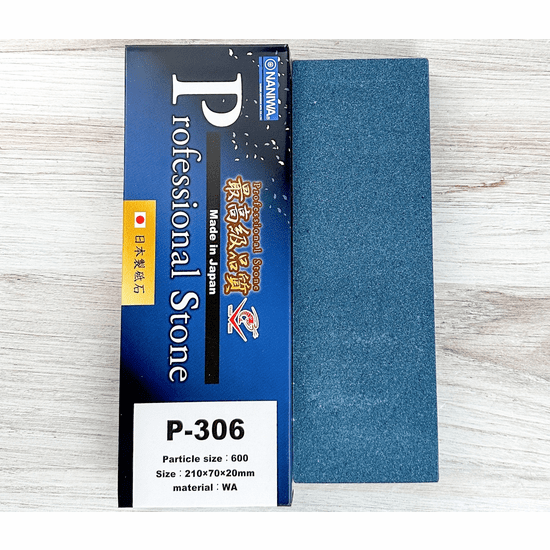
Naniwa Chosera Pro — 600 Grit
One of the finest stones at this grit level, full stop. Cuts efficiently, dishes slowly, and gives you excellent feedback through the stone. For knives that don't need coarse work, this is often where I start. It bridges the gap between repair and the medium range beautifully. If sharpening properly, you can achieve a super bitey edge on just this stone.
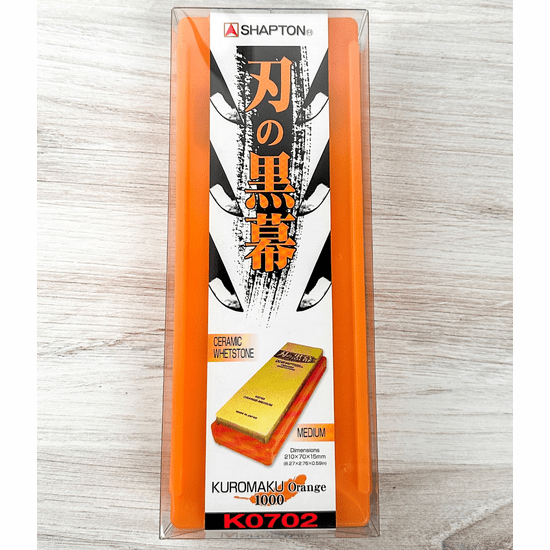
Shapton Kuromaku — 1000 Grit
My Favorite stone in my kit. This is where the working edge is built and where I raise my burr. Hard, fast-cutting, stays flat longer than most. If you're only buying one stone, I recommend you buy this one.
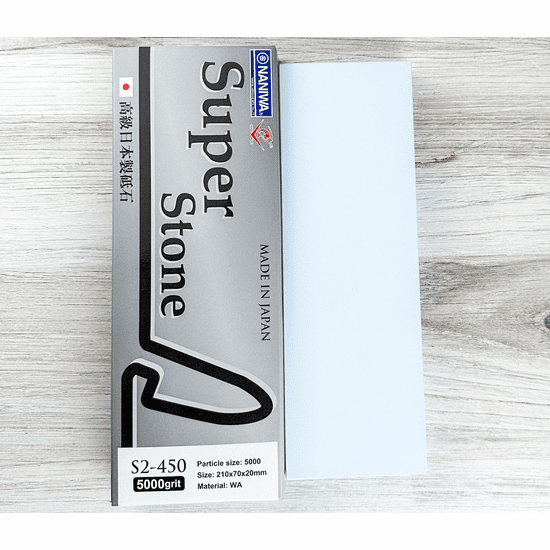
Naniwa S2 Advanced Super Stone — 5000 Grit
My primary finishing stone. After the Kuromaku builds the edge, the Super Stone polishes and refines it, producing an almost unbeatable polished edge and performs beautifully across almost every kitchen knife. This is where the majority of knives I sharpen finish before the strop.
Strops
If buying one is too expensive you can always make one. get a flat block of wood, veg tan leather, and some glue, and you got yourself a strop.
A leather strop is one of the simplest tools you can add to your knife maintenance routine, yet it can make a dramatic difference in edge performance. After sharpening on stones, the very edge of a blade often has microscopic burrs and irregularities. Stropping on leather, often with a fine polishing compound, removes those remnants and aligns the edge, leaving the knife noticeably sharper and smoother in use. The result isn’t just a keener edge, but one that glides through food with less resistance. For chefs and home cooks alike, a quick pass on a strop between sharpenings can keep knives performing at their best and extend the time between full sharpening sessions.
Beginner stones
you don’t need my full set up to get your knives sharp. most stones you will ever need is a 1000 Grit whetstone. If you are looking to start your sharpening journey but don’t want to break the bank, here are a few other stones I recommend.
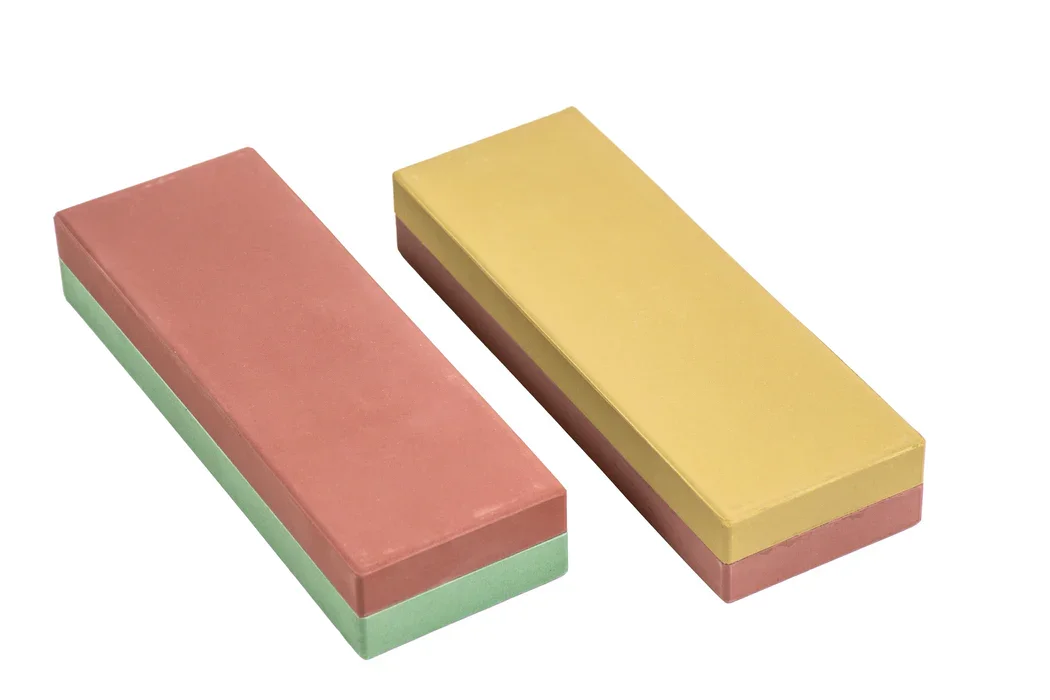
Naniwa Combination Stone 220/1000 & 1000/3000
This stone will sharpen every knife in your kitchen effectively. The 220 grit is excellent for establishing an edge on dull blades, while the 1000 grit provides a smooth polish. This polished finish is ideal for softer western steels. This stone comes in at around $28
The yellow/red stone is a 1000/3000 grit if you feel like 220 is a bit over kill for your needs. The 3000 grit will let you achieve a more polished edge. Price: $31
Not ready to tackle it yourself?
Cutler Connect offers professional drop-off sharpening in the Seguin area. Book an appointment and your knives come back ready to work.